


Are you an adventurous cyclist seeking an unforgettable outdoor experience? Bikepacking might be your answer! Bikepacking is a thrilling combination of long-distance biking and backpacking, where brave riders embark on independent journeys across diverse terrain, carrying all their necessities on their bikes. If you want to discover the freedom and wonders of bikepacking, let this article guide you on your extraordinary journey!
Planning your Bikepacking Trip
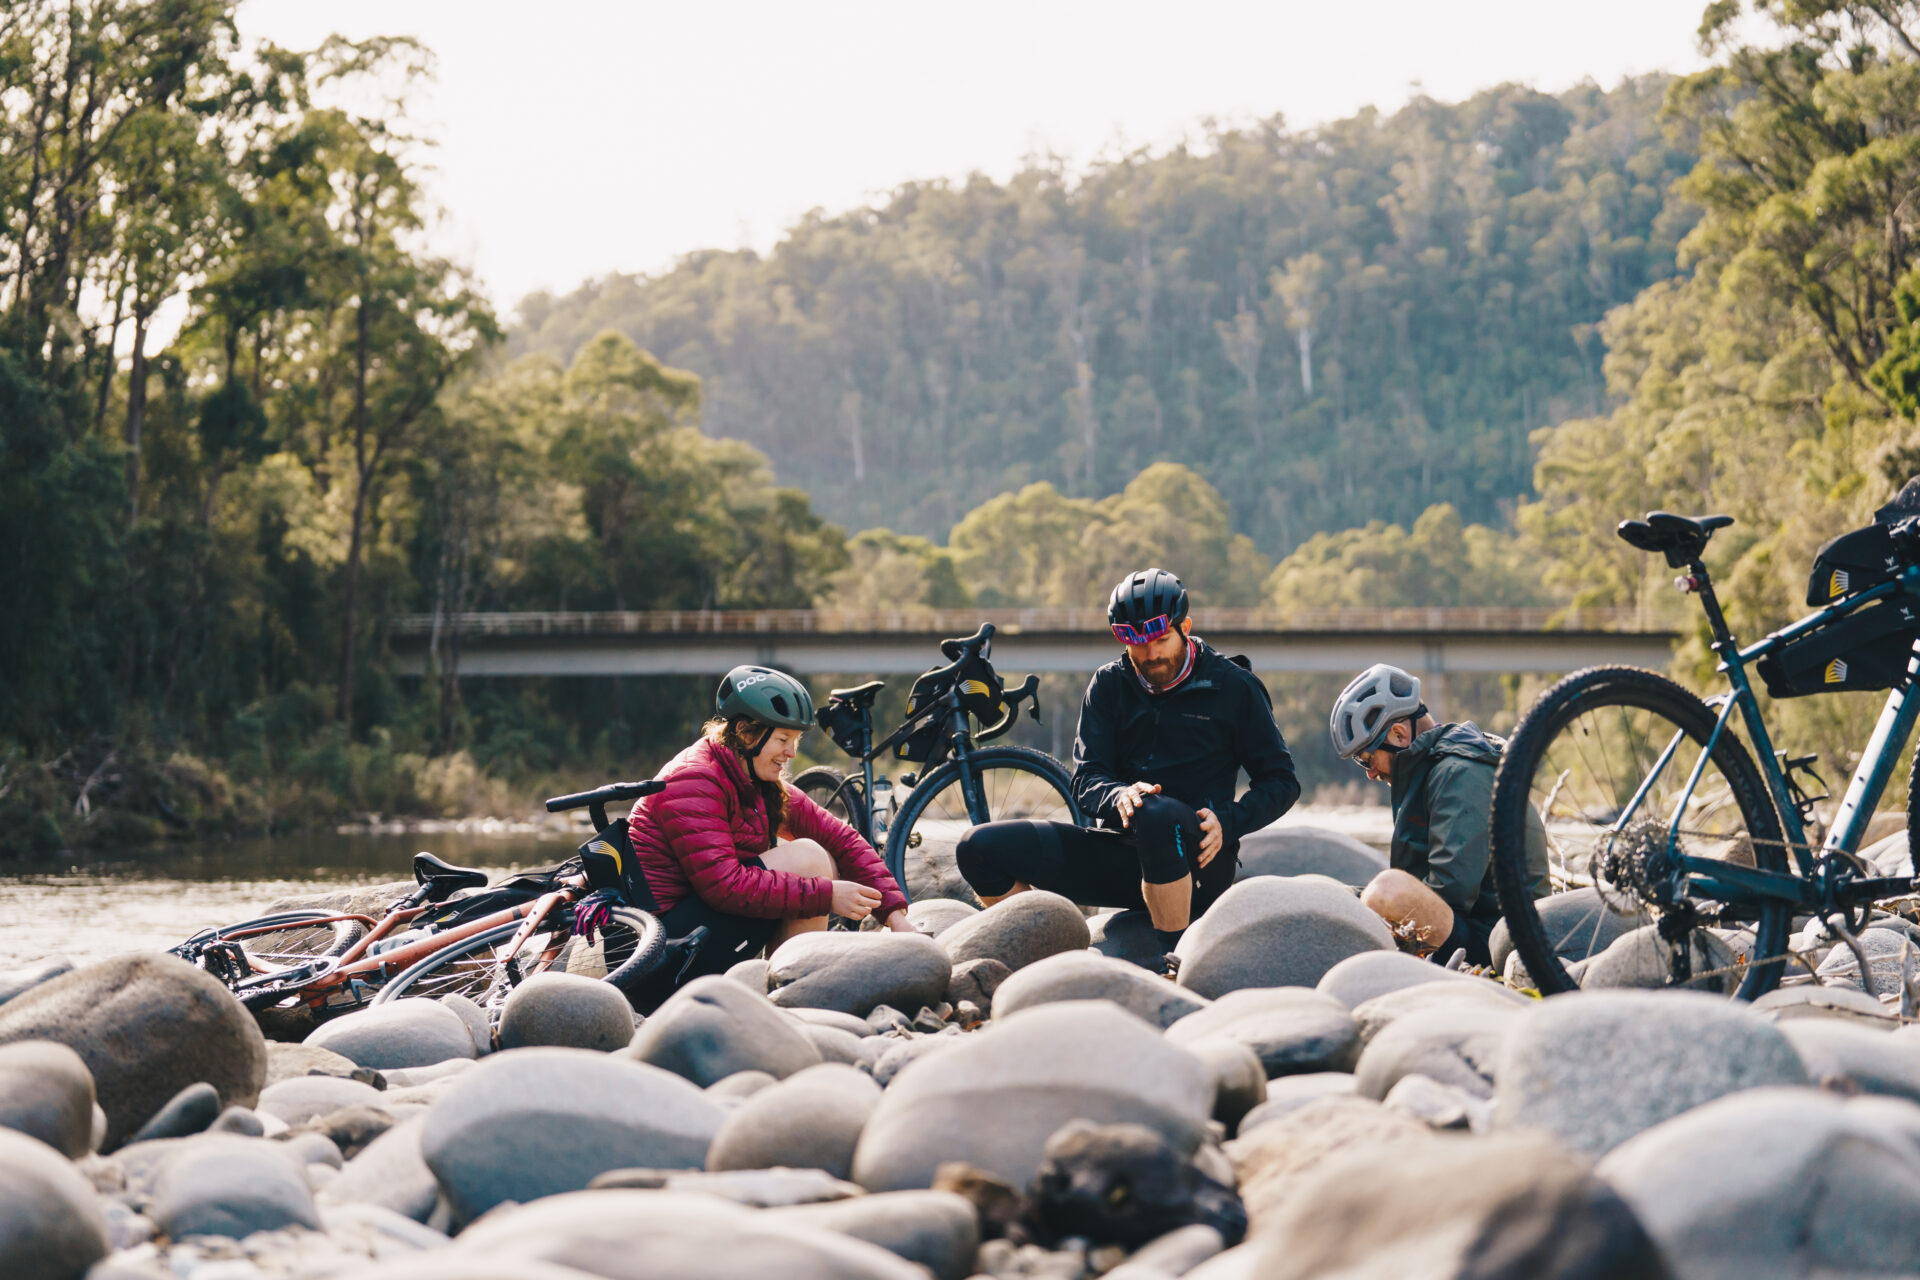
Effective planning is the foundation of a successful bikepacking adventure. From route selection to gear packing and safety considerations, thorough preparation can guarantee a smoother and more enjoyable journey. So, take notes and plan everything wisely!
Planning the Routes and Trails
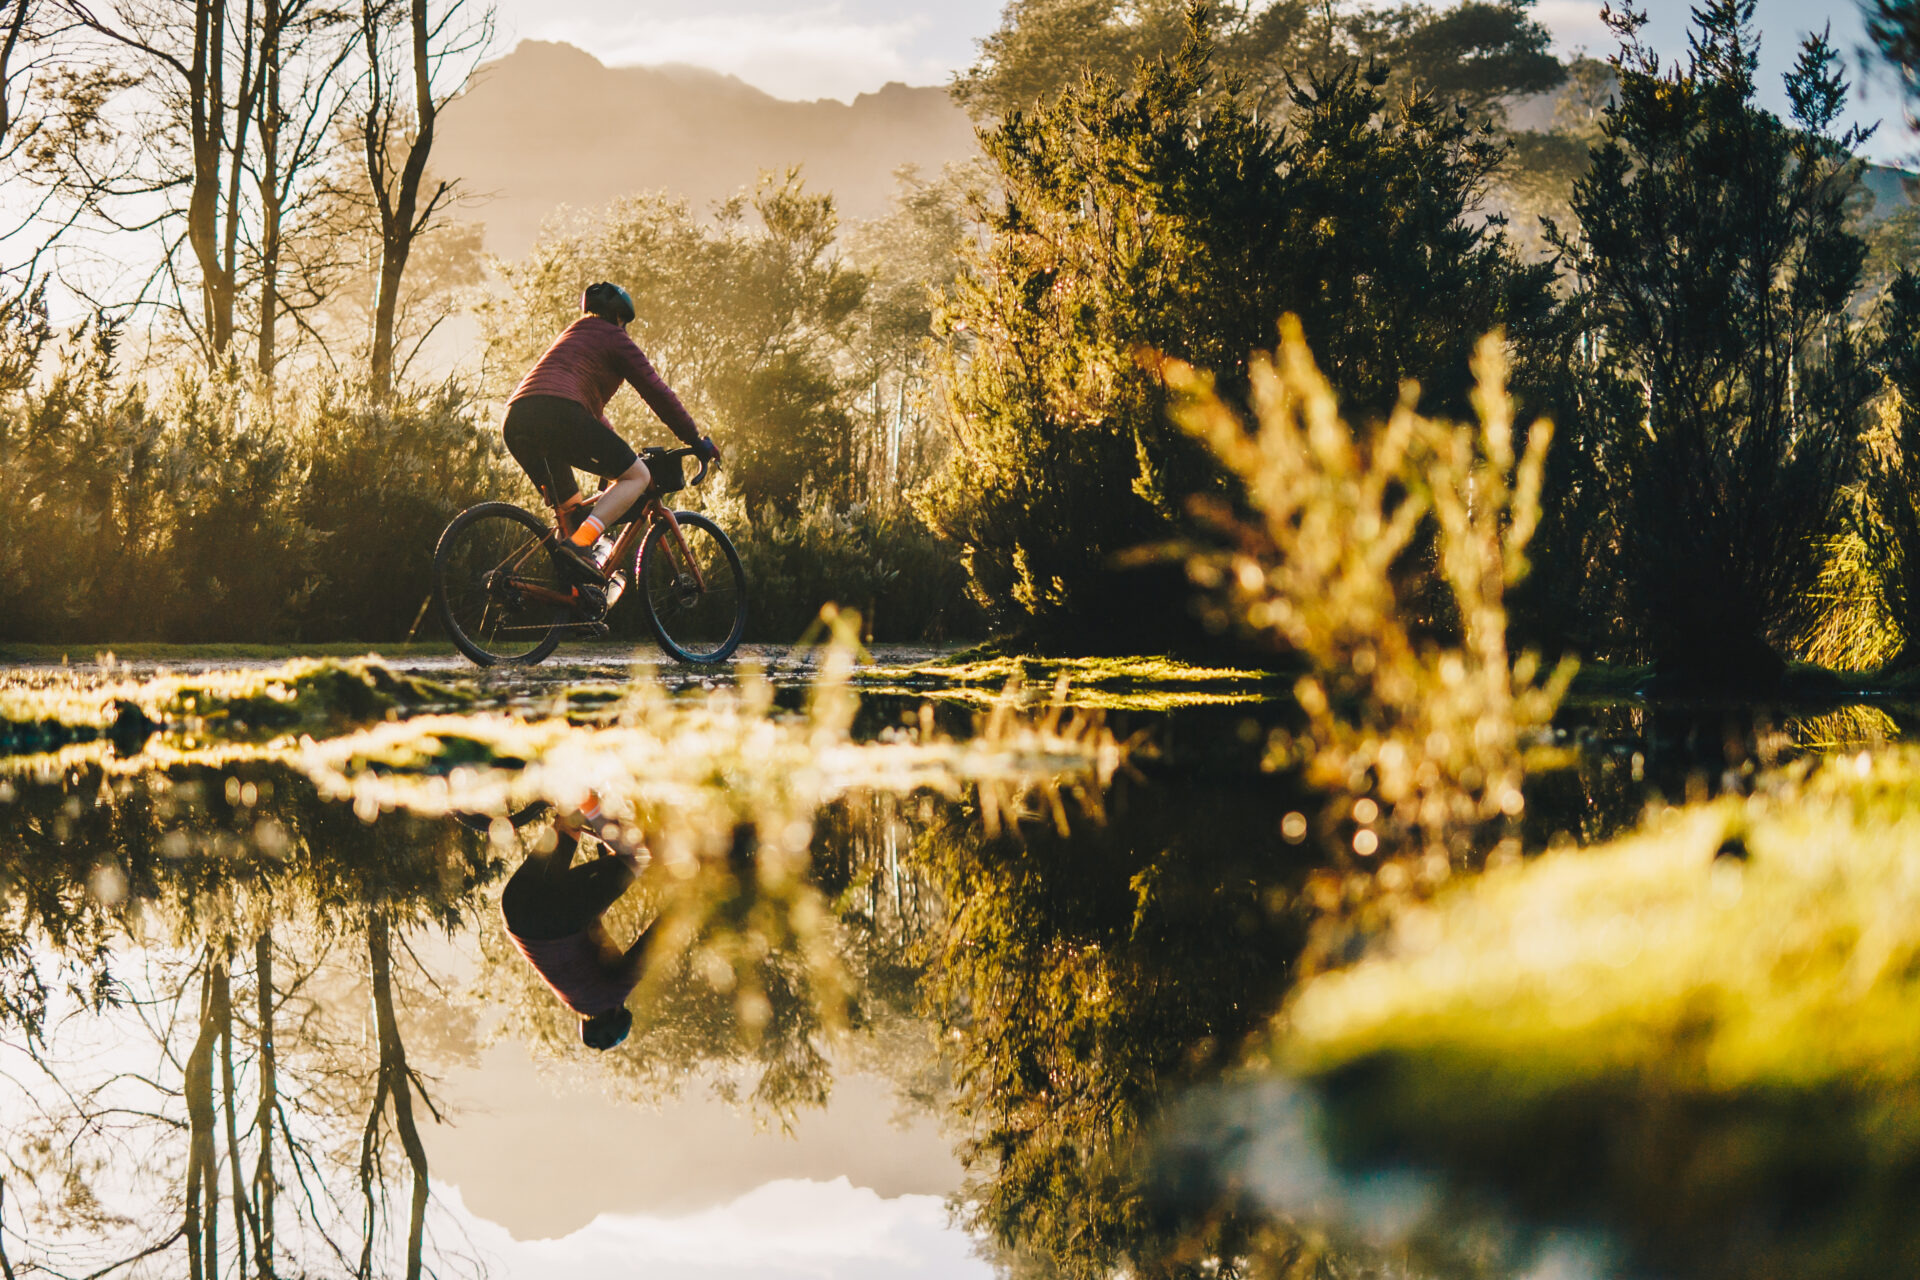
When planning your routes, you first need to determine your own goal. Are you seeking a challenging adventure, a scenic ride, or both? Your goals will help shape your route. Next, decide the place you want to explore. Consider factors like terrains and climates, and know your limit.
Every terrain and trail has its level of difficulty. Research the path’s condition of your chosen destination. Are you looking for paved roads, gravel paths, single-track trails, or all of it? Make sure your route aligns with your riding preferences and skill level.
Once you know the destination and its terrain, use GPS devices or apps like Google Maps and Strava to plot your route. It would be best to decide whether you want to go for a loop or a linear route. A loop route begins and ends at the exact location, forming a complete circle or loop. Liner route, on the other hand, starts at one point and ends at a different location, often requiring transportation arrangements to return or go to the starting point.
After you map it all out, decide how to ride. Consider these four aspects:
- The moving time: How many hours are spent pedaling to your destination?
- Average Speed: How fast do you need to or can go?
- Distance per day: How far do you need to or can go in a day?
- Elevation per day: How many total climbs can be expected daily?
Bikepacking Setup and Essentials
Setting-up the Bike
Although you can use any bike for a bikepacking trip, using the right bike can make a huge difference and make your journey more enjoyable. Here’s how to set it:
- The bike
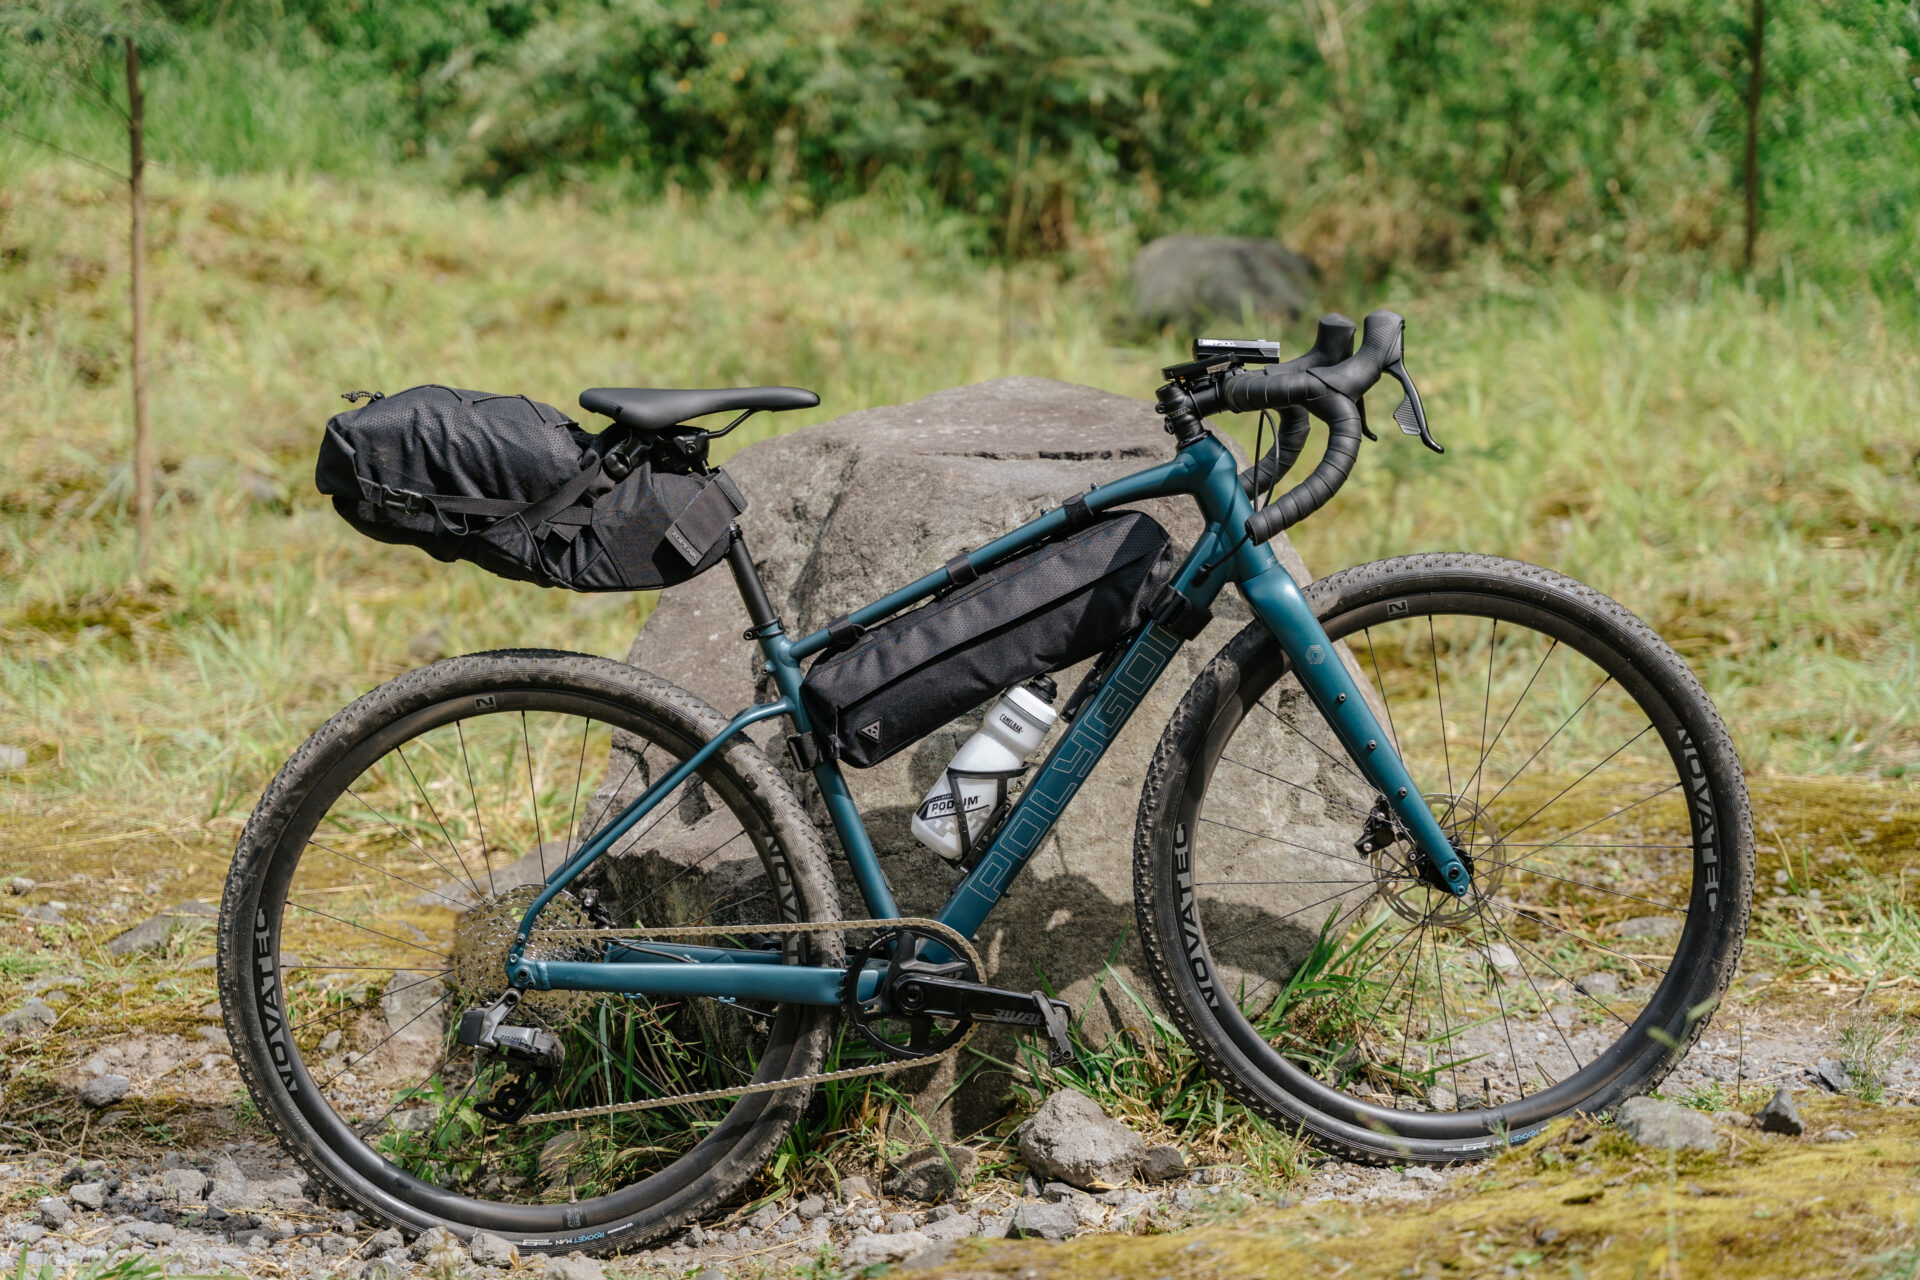
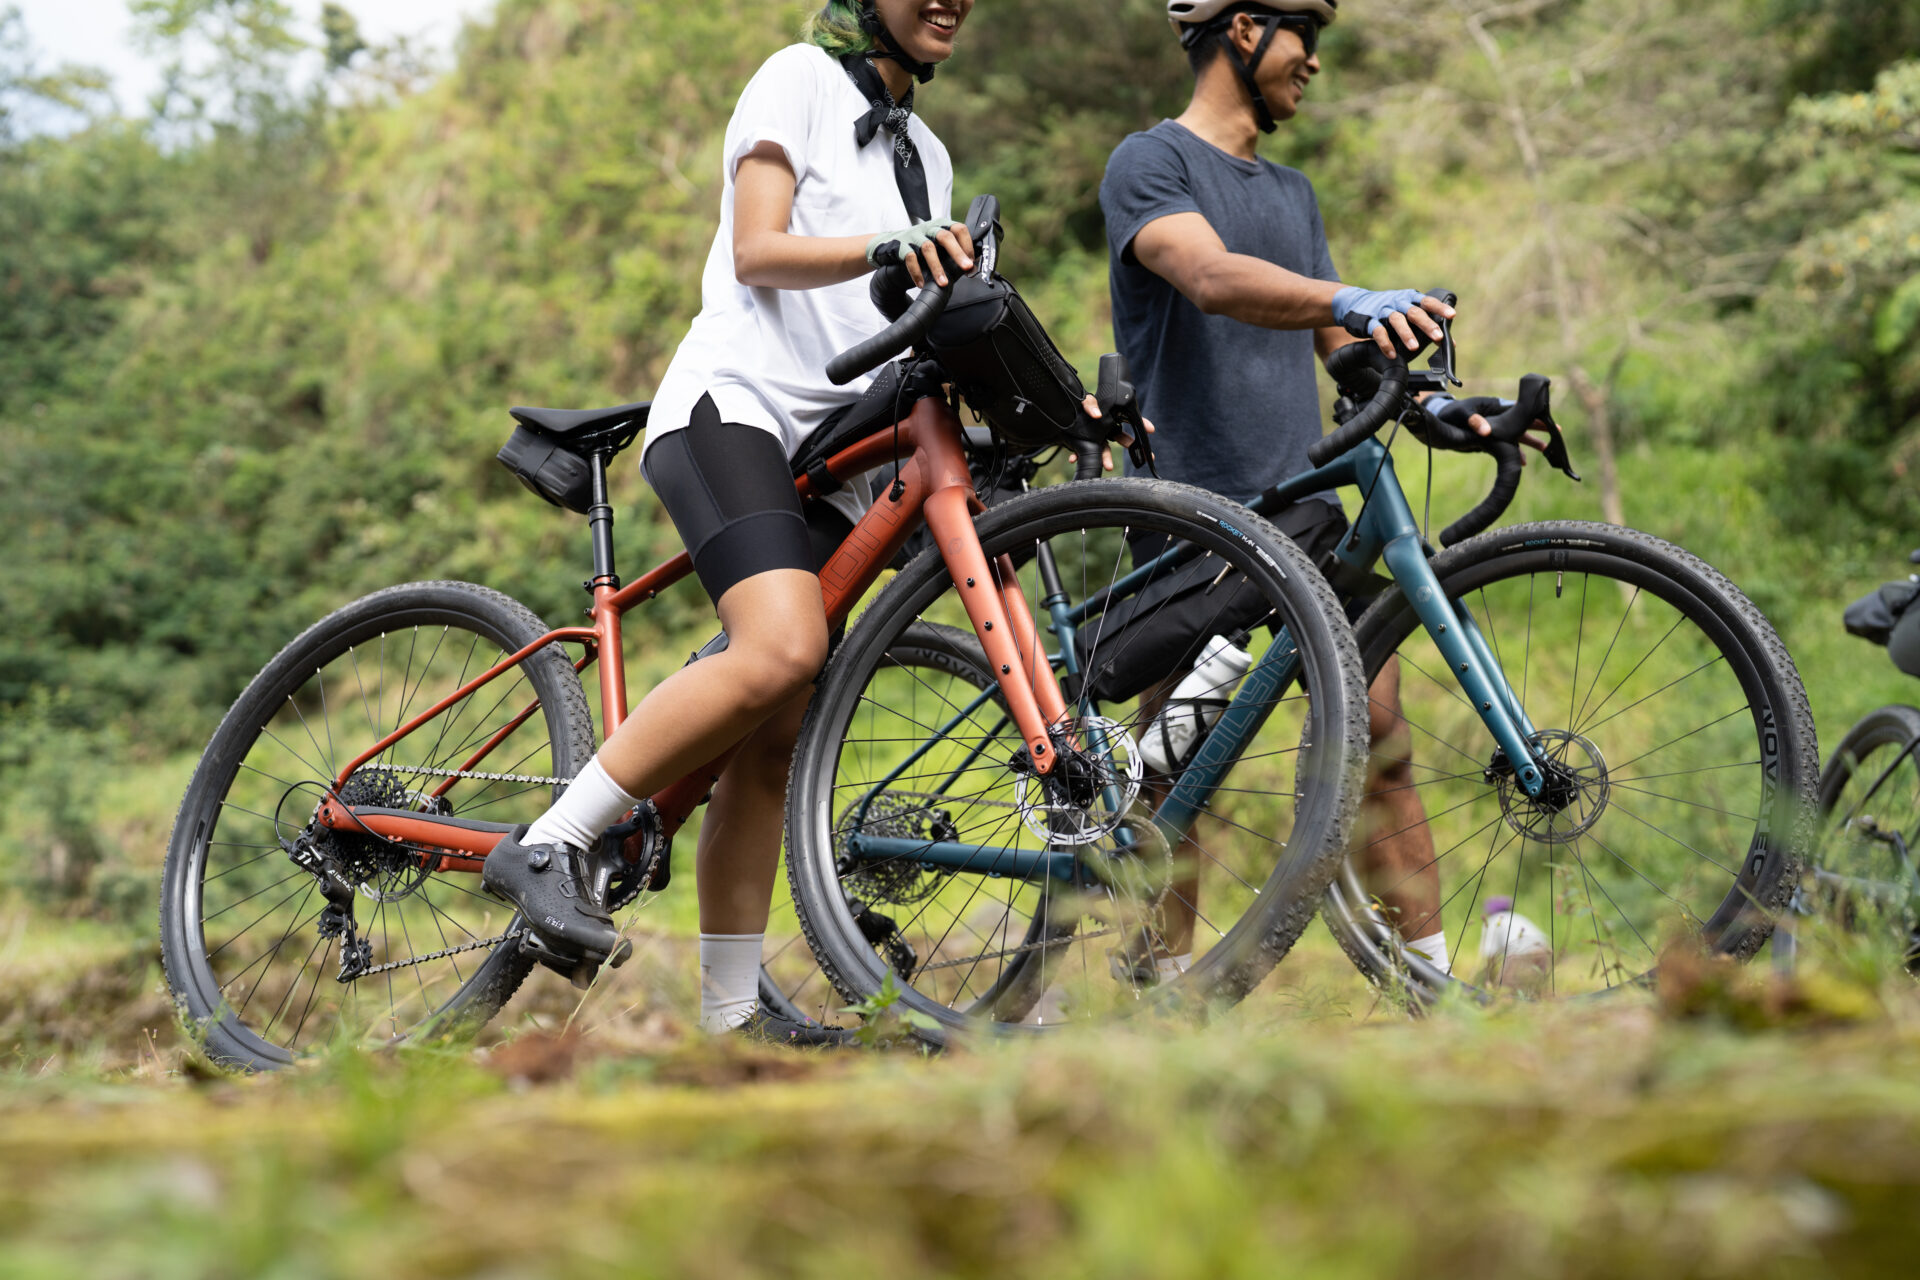
For a gravel road or a mix of smooth paved roads and rugged terrain, a Gravel bike would be the right choice. This bike can tackle dirt roads and singletrack easily. If your trip tends to be more adventurous, Polygon’s BEND gravel bike series will be your perfect companion.
- The wheel size
After choosing the right bike, pick the wheel size. You might want to go with 700c (or 29”) to roll faster on smoother terrain or 650b (27.5”) for a perfect balance of agility and maneuverability.
- The tire treads
Selecting the right tire is crucial for your bikepacking journey. Research the terrain and trails you will tackle, then choose the best tire that fits the landscape. Whether you need slick or knobby tires, learning to select a gravel bike tire can make your journey more efficient.
- The handlebars
Flared handlebars are the perfect match for a bikepacking bike like a gravel bike. Fortunately, the Polygon BEND Series is paired with a flared handlebar, which gives you easy access to your gears and brakes. Some riders also prefer a flat handlebar as it gives them more control and confidence over their ride.
- The handlebars
Pedals are small but make a significant impact on your journey. Most riders choose clipless pedals and shoes for more power transfer efficiency, but some select flat pedals and more comfortable shoes.
Pack up the Essentials
There are three essential bags and items you need to carry during your bikepacking trip:
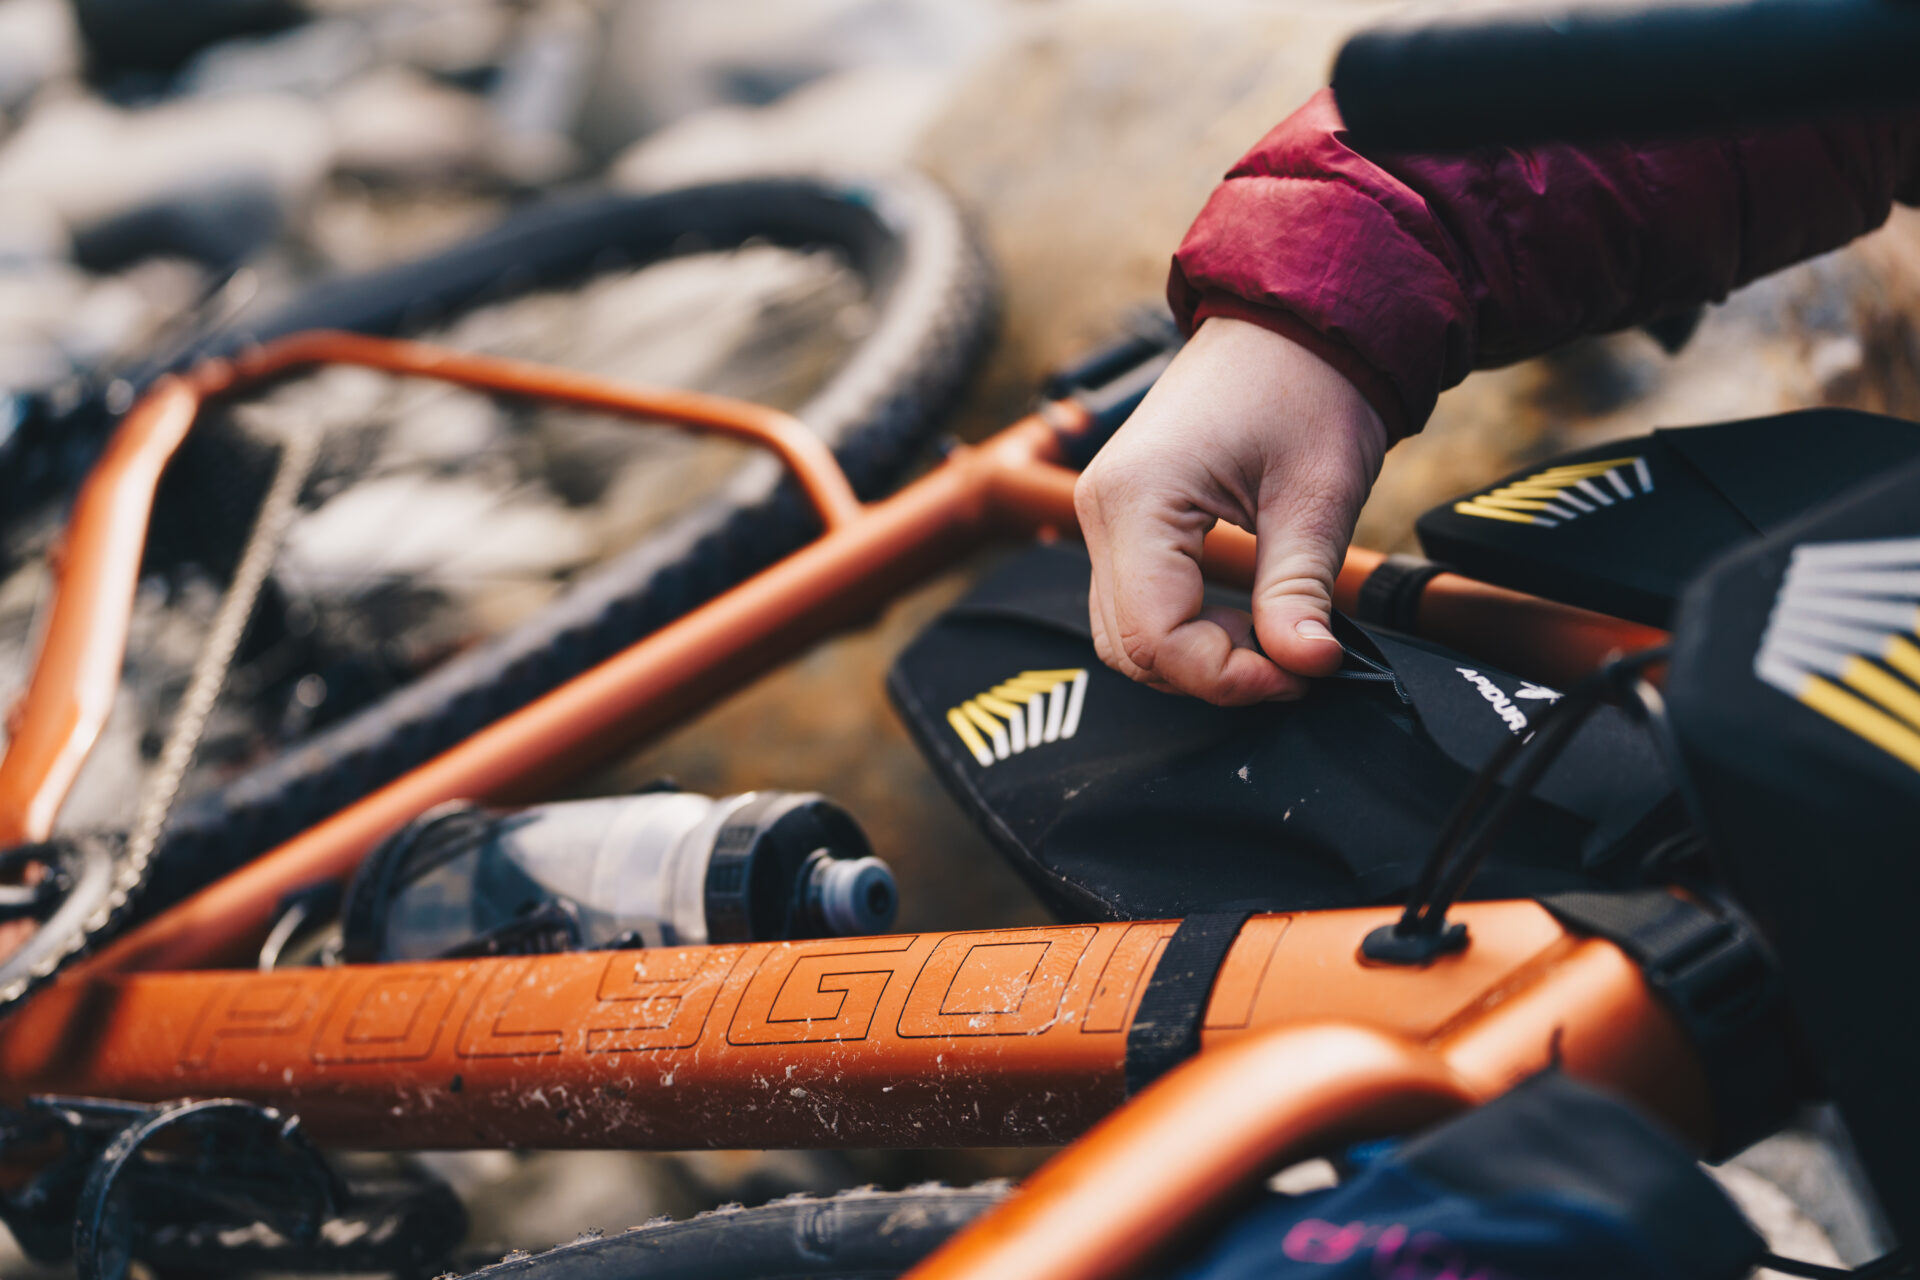
- Saddlebags
Never overpack your saddlebags with heavy items. It is recommended to fill your saddlebags with a sleeping bag, sleeping pad, clothing, rain gear, and lightweight camping equipment. Put the heaviest item closest to your bike seat.
- Frame bags
A frame bag that fits inside the triangle of your bike is designed to carry heavy items and gear such as tools, spare parts, stove and fuel, and food. Always put the heaviest weight and stuff you rarely need low.
- Handlebar Bags
The bag attached to the handlebars provides storage space for lightweight but bulky items like clothing, tents, sleeping bags, and sleeping pads.
- Top Tube Bag
This bag attached to the top of your top tube is designed for small and frequently used items. Top tube bags are perfect for storing energy bars, sunscreen, phones, or a small multi-tool for quick repairs.
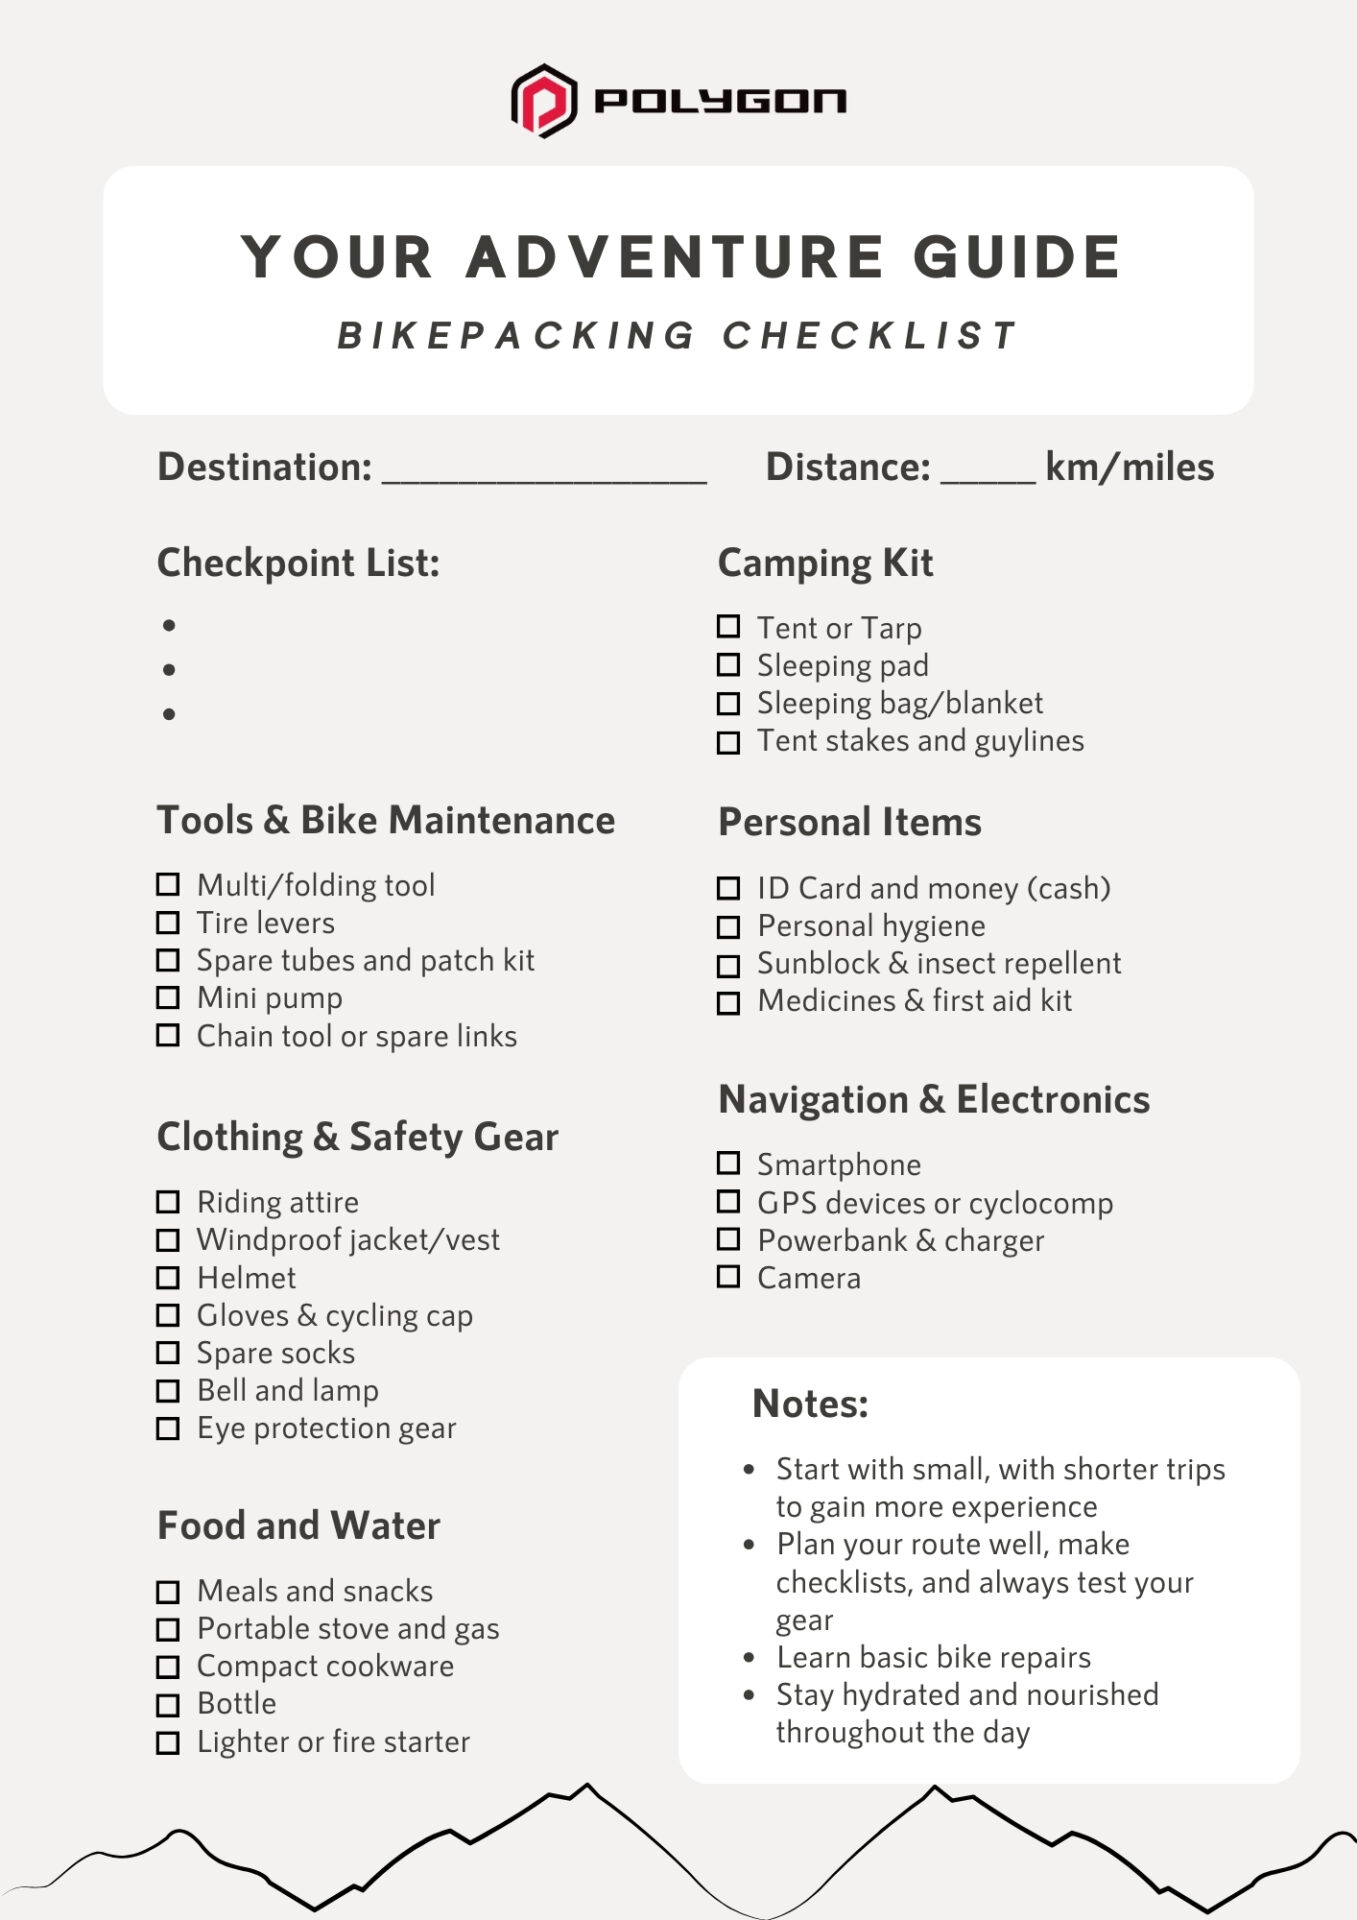
It’s always a good idea to prefer lightweight and compact essentials to give more space in your storage and less burden on your journey. For more detailed items to pack, check out these lists!
Bikepacking Tips for Beginners
Before embarking on the incredible journey, here are several tips for new bikepackers:
- Start with shorter trips to gain more experience. This allows you to learn the ropes without being overwhelmed.
- Plan your route well, make checklists, and always test your gear. Take your time to make sure everything is ready.
- Learn basic bike repairs and carry the necessary tools. Familiarize yourself with essential bike maintenance and repairs.
- Master navigation using maps and technology. This skill will help you save more time and energy.
- Stay hydrated and nourished throughout the day. Always plan your meals and drink accordingly.
Read more:
Conclusion
Bikepacking, a thrilling blend of long-distance cycling with the spirit of exploration and self-sufficiency, can be the best adventure for any cyclist. Before you go, plan thoroughly, from choosing the routes to packing all your necessities. Choose the best bike companion and always be ready for any challenge ahead. You can save the Adventure Guide: Bikepacking Checklist below. Now, are you ready to begin your bikepacking adventure? Find your perfect bike for touring, like the gravel bikes or hybrid bikes from Polygon!


